


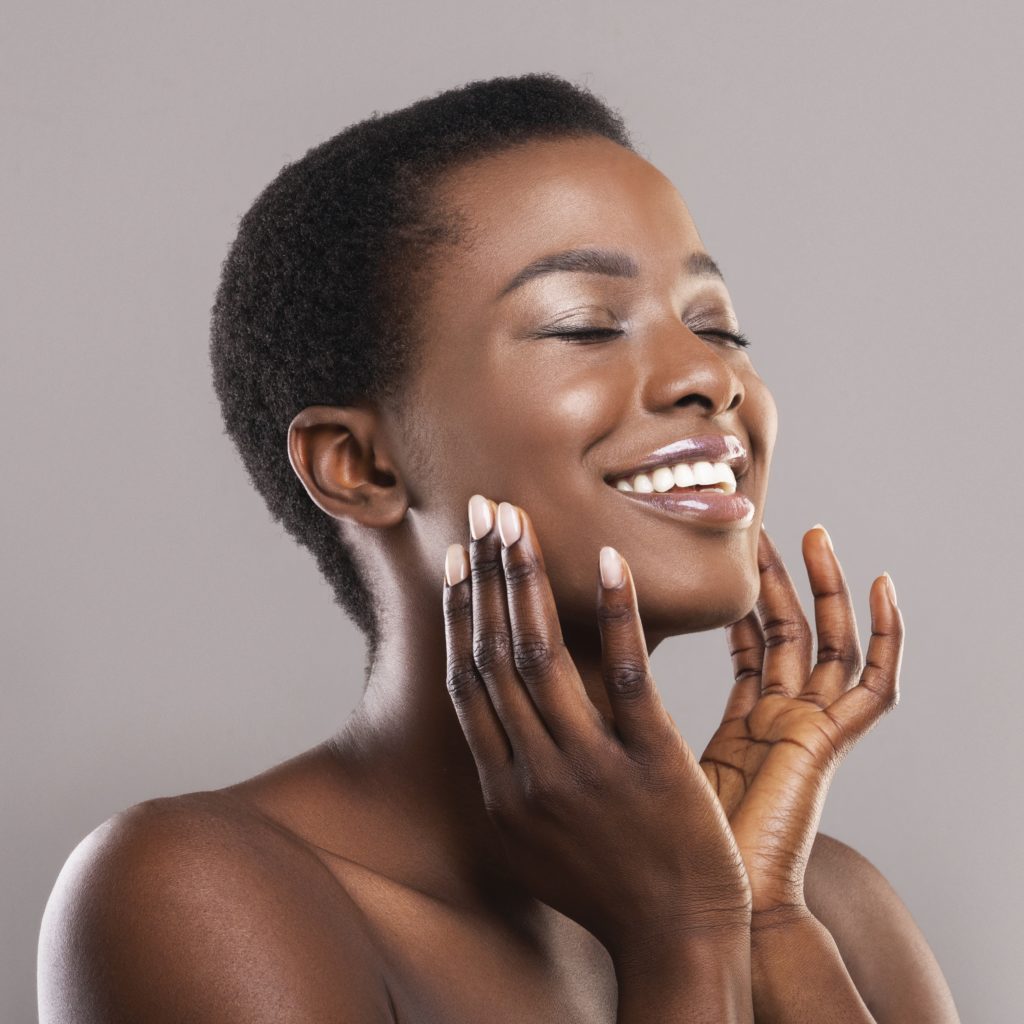
Peeps, skin care is super important but making a skin routine for yourself is so confusing. I mean, a 10 step skin care routine?? Whattttttttttt. My eyes glazed over when I first started reading about those lengthier routines and all the South Korean products. What the heck is a double cleanse? Essence? Ampoules? Well, no worries! I’m here to demystify the basics of multi-step skin care routines!
Before we jump right into typical routines and product recommendations, we have to consider that there are really four main skin types (Normal, Oily, Dry, and Combination). This matters because not all products work best for all skin types and you should definitely be catering your products to your skin type. For example, if you have oily skin you wouldn’t want to choose a very heavy, creamy moisturizer as that would only make your skin more oily. When choosing products, keep this in mind. For help identifying your skin type, check out my skin post here.
Throughout this post, I’ll go into what I am currently using for my combination, sensitive skin. My skin had a lot of bad reactions to different products I was using previously so I would get dry patches and red bumps on my cheeks and my face would have acne flare ups as well. Check out the photos below of my skin care progress over the past three months.
I don’t want you to feel overwhelmed with what I’m about to go over so keep in mind the only time I do this full routine is at night when I have a lot of time.
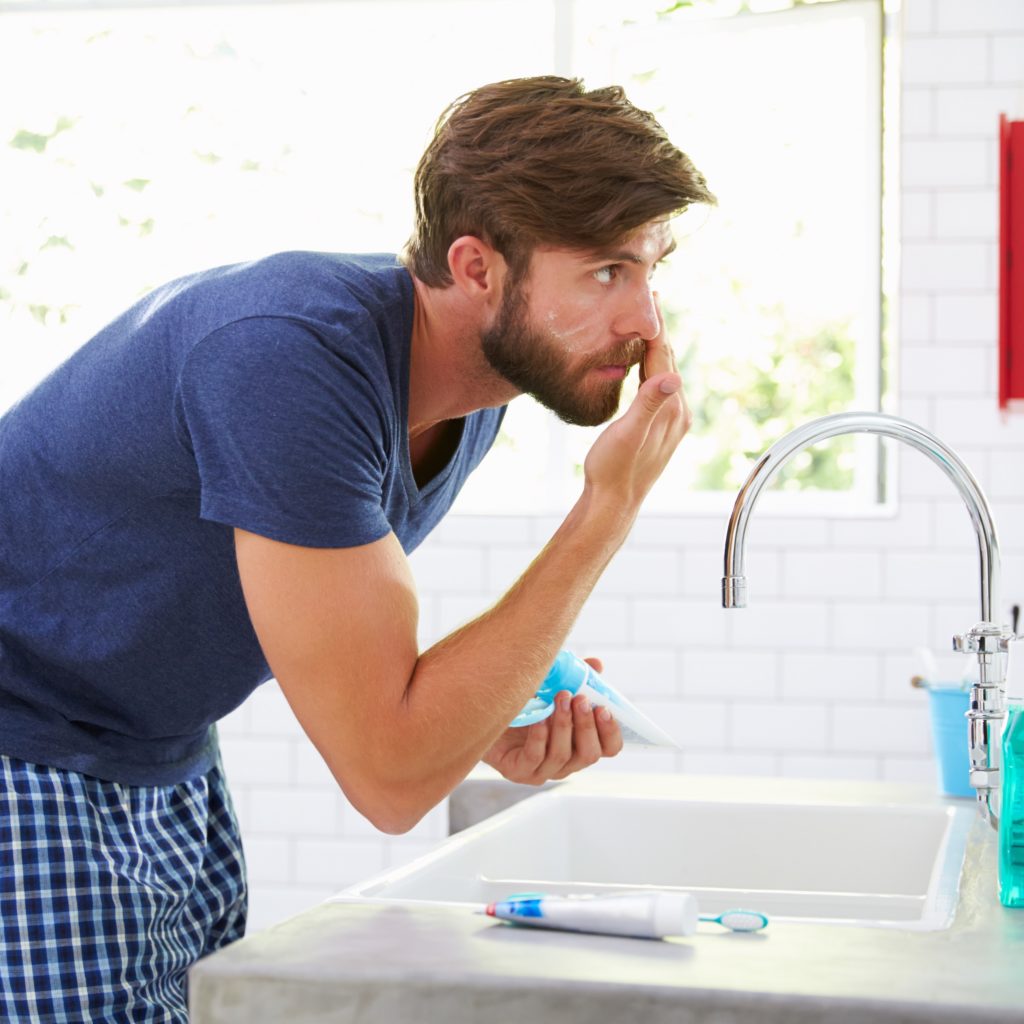
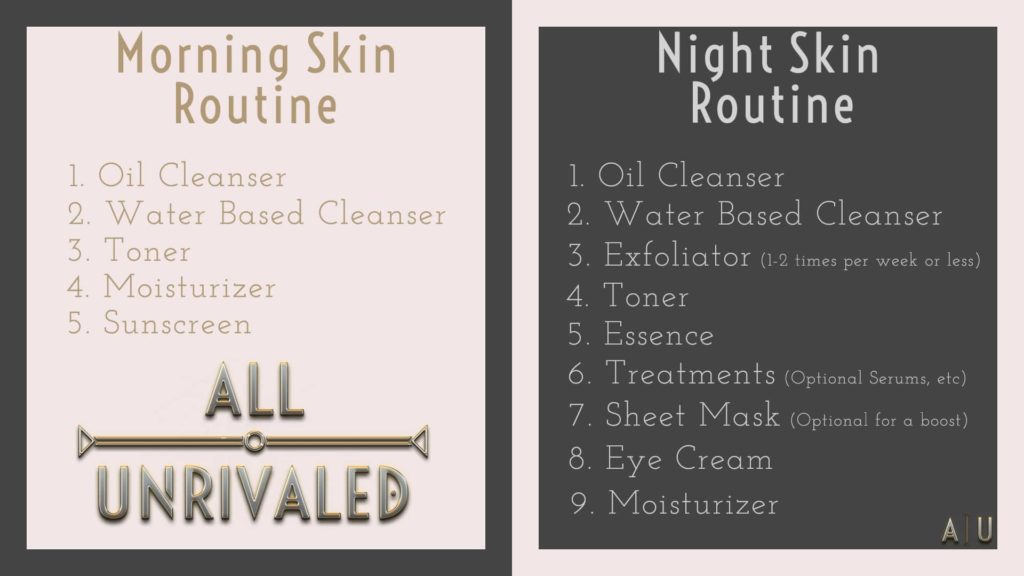
There is definitely a difference between the morning and night routines, which we will touch on below. In all routines, we want to start off with a double cleanse. That’s right, you’re washing your face two times in a row. You want to start off with an oil based cleanser to remove makeup, sunscreen, and excess sebum. For my combination skin, I use Enature Moringa Cleansing Balm. Next, use your water based cleanser to remove dirt and sweat from your pores, like D’Alba Piedmont Peptide No-Sebum Mild Gel Cleanser.
Our next step here would be to exfoliate your skin, but this should only be done 1-2 per week otherwise it could cause skin irritation. Since my skin is so sensitive, I don’t exfoliate that often – more like once a month. I’ve really wanted to try out RE:P Bio Fresh Mask With Real Calming Herb, but it has been sold out online for months. *insert sad face here* So at the moment, I can’t make a solid recommendation for this step.
Moving on, I next make use of a toner after I pat my face dry. Note that I say pat your face as this is the least damaging to your skin. Toning is an important step as it brings balance to your skin’s PH and moisture levels. I have really been liking Acwell’s Licorice pH Balancing Cleansing Toner. My skin has never felt so nice and I love that this toner doesn’t make your face feel tight after applying it.
Right after applying your toner, I would say to apply your essence, but you’re probably asking… what’s essence? Essence is a very lightweight liquid that you apply in order to help products be absorbed by your skin better while also providing hydration, and aid in skin cell turnover. I only ever apply my essence at night to really get a bang for my buck while I’m sleeping. I’ve been testing out Enature’s Birch Juice Hydro Essence Skin and it has been so soothing to my skin and really helped out with those rough patches on my face.

Once you’ve patted your essence in (note again I say pat – I recommend always pat in your products rather than rub as they tend to absorb better this way), some people move on to serums and spot treatments. I honestly have never done this, but there are specific products made to treat things such as fine lines and dark spots. Think of it as like a super concentrated treatment that gets the active ingredients to your skin faster.
Your next step on this skin care adventure is probably my favorite: The Sheet Mask! These are a thing of beauty (forgive the pun). I normally use these when I’ve had a long day and want to pamper my skin. Full of concentrated essence, moisturizers and nutrients, these will reinvigorate your skin, leaving it glowing and happy.
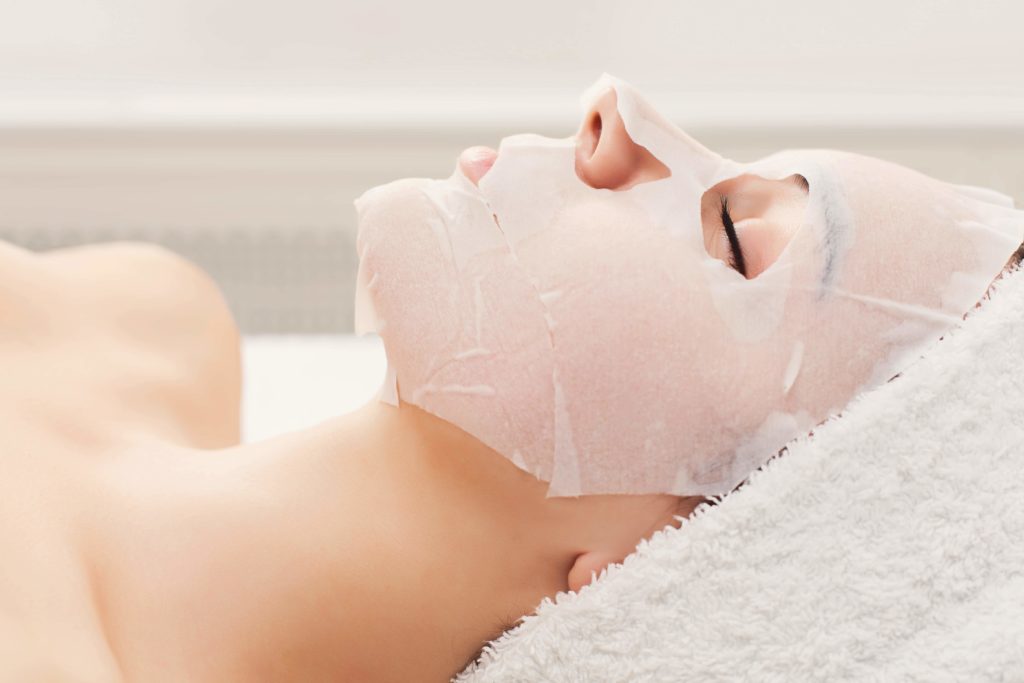
Best thing about sheet masks is that really you can do them whenever you want to give your skin a boost. I’ve used a lot of Tony Moly masks in the past, and recently tried out the Enature Vita 8 Nutritive Sheet Mask. It left my skin soothed and soft with no irritation. I’ll be testing out Klavuu’s WHITE Pearlsation Pearl Serum Mask tonight during my routine!
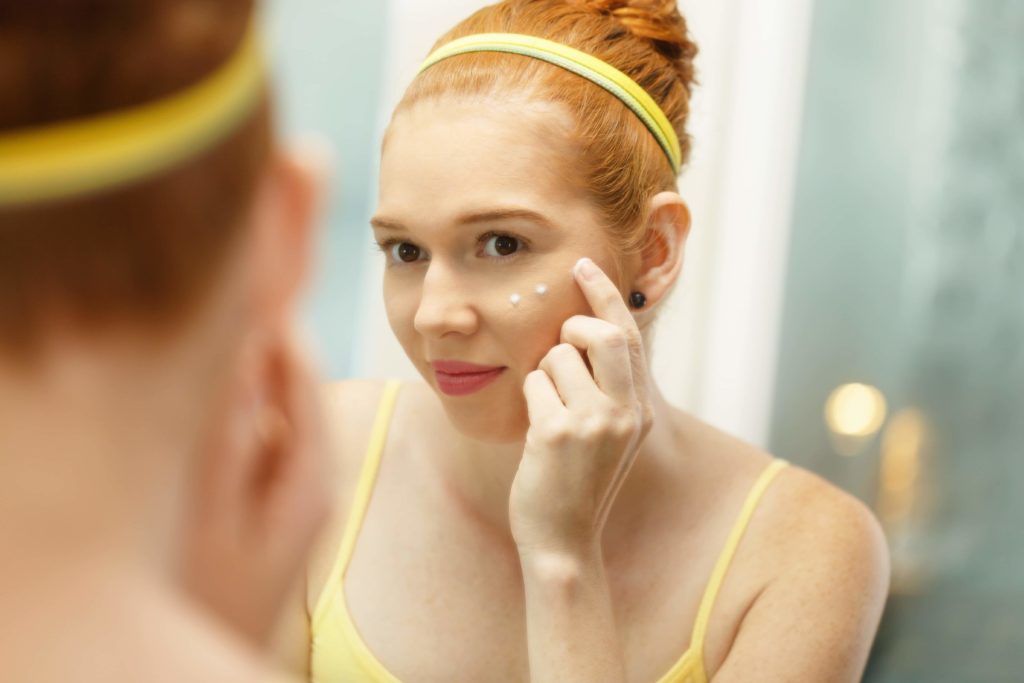
Eye creams are one of those things that I have viewed as kind of optional, but they do give you that extra love for around your eyes, diminishing the look of fine lines and wrinkles as well as brightening your skin. I currently haven’t settled on an eye cream, but when choosing this product you will want to (as always) pick one that is best for your skin type.
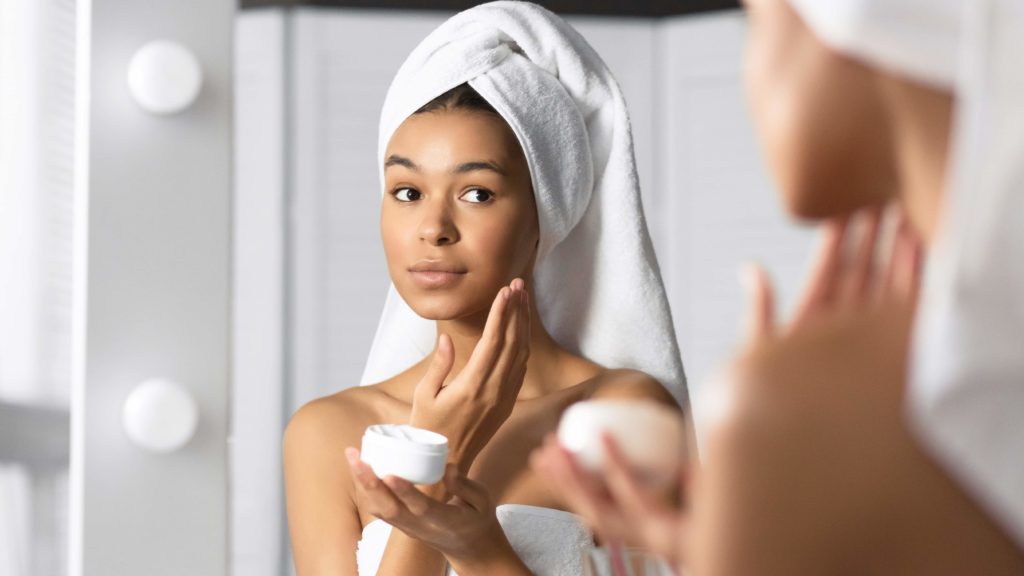
I consider the last two steps the most important out of the whole routine. Let’s start with applying your moisturizer. These little pots of hydration come in so many different forms: gel, lotion, cream, oil, emulsion or even a sleeping mask. I found that a light gel moisturizer really does some fantastic work to my combination skin. It isn’t too heavy for the oily parts of my face, but gives just enough moisture to the dry patches so they aren’t dying of thirst.
I’ve been using Missha Super Aqua Cell Renew Snail Cream and have been pretty impressed. And yes, you read that right: snail cream. As in made from snail mucin. Now before you call me a crazy person and tell me how gross that sounds to put on your face, let me explain.
You’re probably wondering how they even collect it to put into the products. I could go really in depth into the process but the folks over at the Klog have explained it wonderfully here. Snail mucin has been proven to have anti-aging properties and also hydrates, mildly exfoliates, brightens and smoothes. When applying this moisturizer, I simply pat it onto my face until is mostly absorbed. It is a little tacky until your skin fully absorbs it but then my face feels so soft and smooth it is unreal.
Last but definitely not least… Okay. It’s really the most important step, my friends. Sunscreen. Peeps, this isn’t just something you should wear in the middle of summer or on a sunny day. This should be something you use year round – on overcast days, rainy days… all the days. You need to protect the skin you’re in from those harmful UVA and UVB rays! You can’t get a new skin suit. UVA rays can affect every layer of your skin and these can be very damaging to your skin even if you can’t feel it at first. They even damage the substances in your skin that make it elastic and firm, causing wrinkles. UVB rays are not as strong as UVA rays, but are just as dangerous to your skin and the radiation from these rays play a role in skin cancer. Unlike UVB rays, UVA rays can actually penetrate through glass so unless your office window can filter the UVA radiation it is imperative that you wear sunscreen! I shall step down from my sunscreen soapbox now.
When choosing a sunscreen, you will want to make sure that you choose one with an SPF of 50 to protect against UVB rays and a PA of +++ or higher to protect against UVA rays. You should also check what ingredients are in your sunscreen as chemicals such as avobenzone, oxybenzone, and octocrylene will actually get absorbed into your bloodstream through your skin. Yeah, that’s not good. Instead, choose mineral sunscreens made with zinc oxide or titanium dioxide as the ingredients (as they can’t be absorbed).
I know that a lot of American sunscreens do not give a PA rating on the bottles so look for ones that state they have UVA and UVB protection, such as Trader Joe’s Zinc Oxide Sunscreen Lotion. I haven’t quite found one that works the best for me yet, but I plan on testing out Papa Recipe Honey Moist Sun Essence SPF 50+PA+++ and Dr. Oracle A-Thera Sunblock SPF 50.
Let's Recap!
It’s not as intimidating now, right? I hope so! It’s so imperative to care for yourself so you can live a long and happy life!
So as promised, here are some progress photos from when I started using my products in September of this year to where I am today.

As you can see from the first photo, I started off with some pretty obvious fine lines around my eyes, dry patches and red bumps on my cheeks and some acne (not to mention my giant pores and dark circles).

As the weeks went on, my skin adjusted to the new products (that’s why I’m so broken out in week 3 and it finally started to clear up by around week 8).

I had literally just woken up in week 9, but notice the much smaller pores, barely visible fine lines, no dark circles and the acne is gone. Although today’s photo my eyes are a bit puffy and dark from lack of sleep (sleep is important, folks), my overall complexion has dramatically cleared up and is much smoother and softer than where it was only a few short months ago.
Do you have questions about this post? Any questions about specific products? Please feel free to reach out to me on social media or via our contact page! I’d be more than happy to help!